The Larapinta Trail is one of Australia’s most famous long-distance walks, 223km through the rugged West MacDonnell Ranges in the Northern Territory. You’ll find breathtaking views, deep gorges and a deep connection to the land’s Aboriginal heritage. Split into 12 sections, each with its own terrain and challenges, the Larapinta Trail attracts walkers from around the world who want to experience the beauty and solitude of Central Australia. Whether you do the whole trail over multiple days or just an individual section, this guide will help you through each part of the trail. Trail markers, basic trail maps and blue trail markers will help you stay on track.
Quick Facts About the Trail
- Location: West MacDonnell Ranges, Northern Territory, Australia
- Length: 223 km
- Duration: 12-20 days for the whole trail
- Difficulty: From moderate to difficult
- Best Time to Visit: April to September (cooler months)
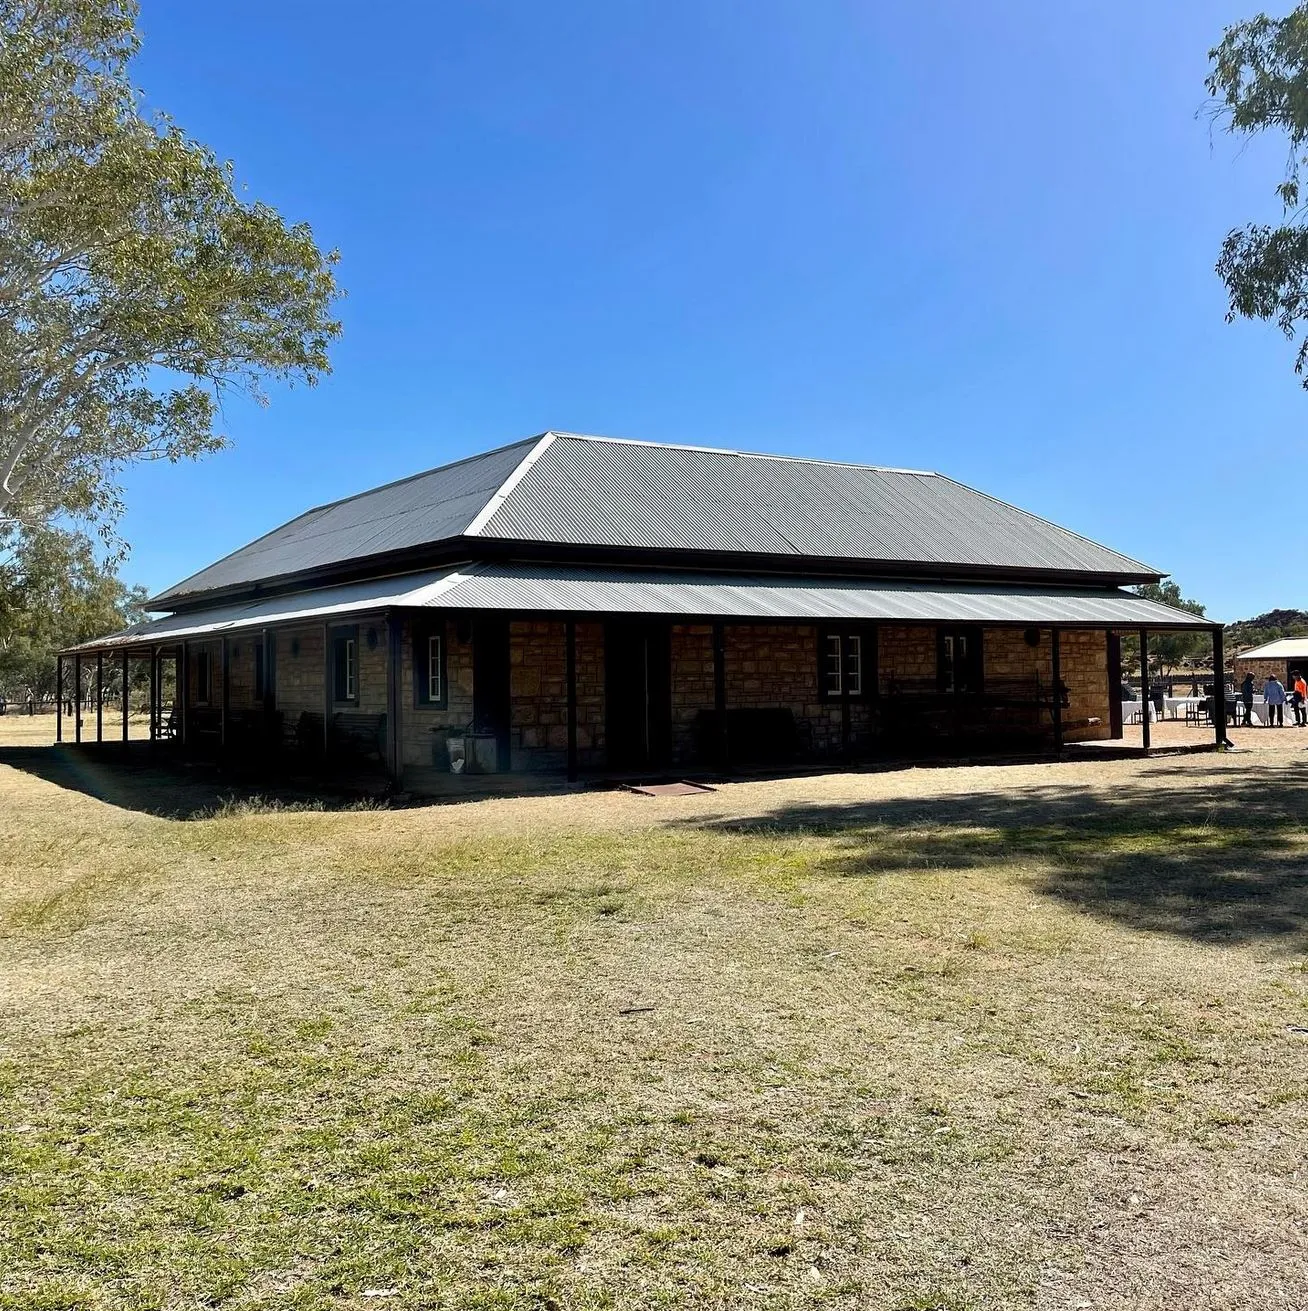
- Starting Point: Alice Springs Telegraph Station
- End Point: Mount Sonder
- Amenities: Trail shelters, camping spots, food drops, tent pads, water and toilets
- Wildlife: Black-footed Rock Wallaby, bird life etc.
Section 1: Telegraph Station to Simpsons Gap
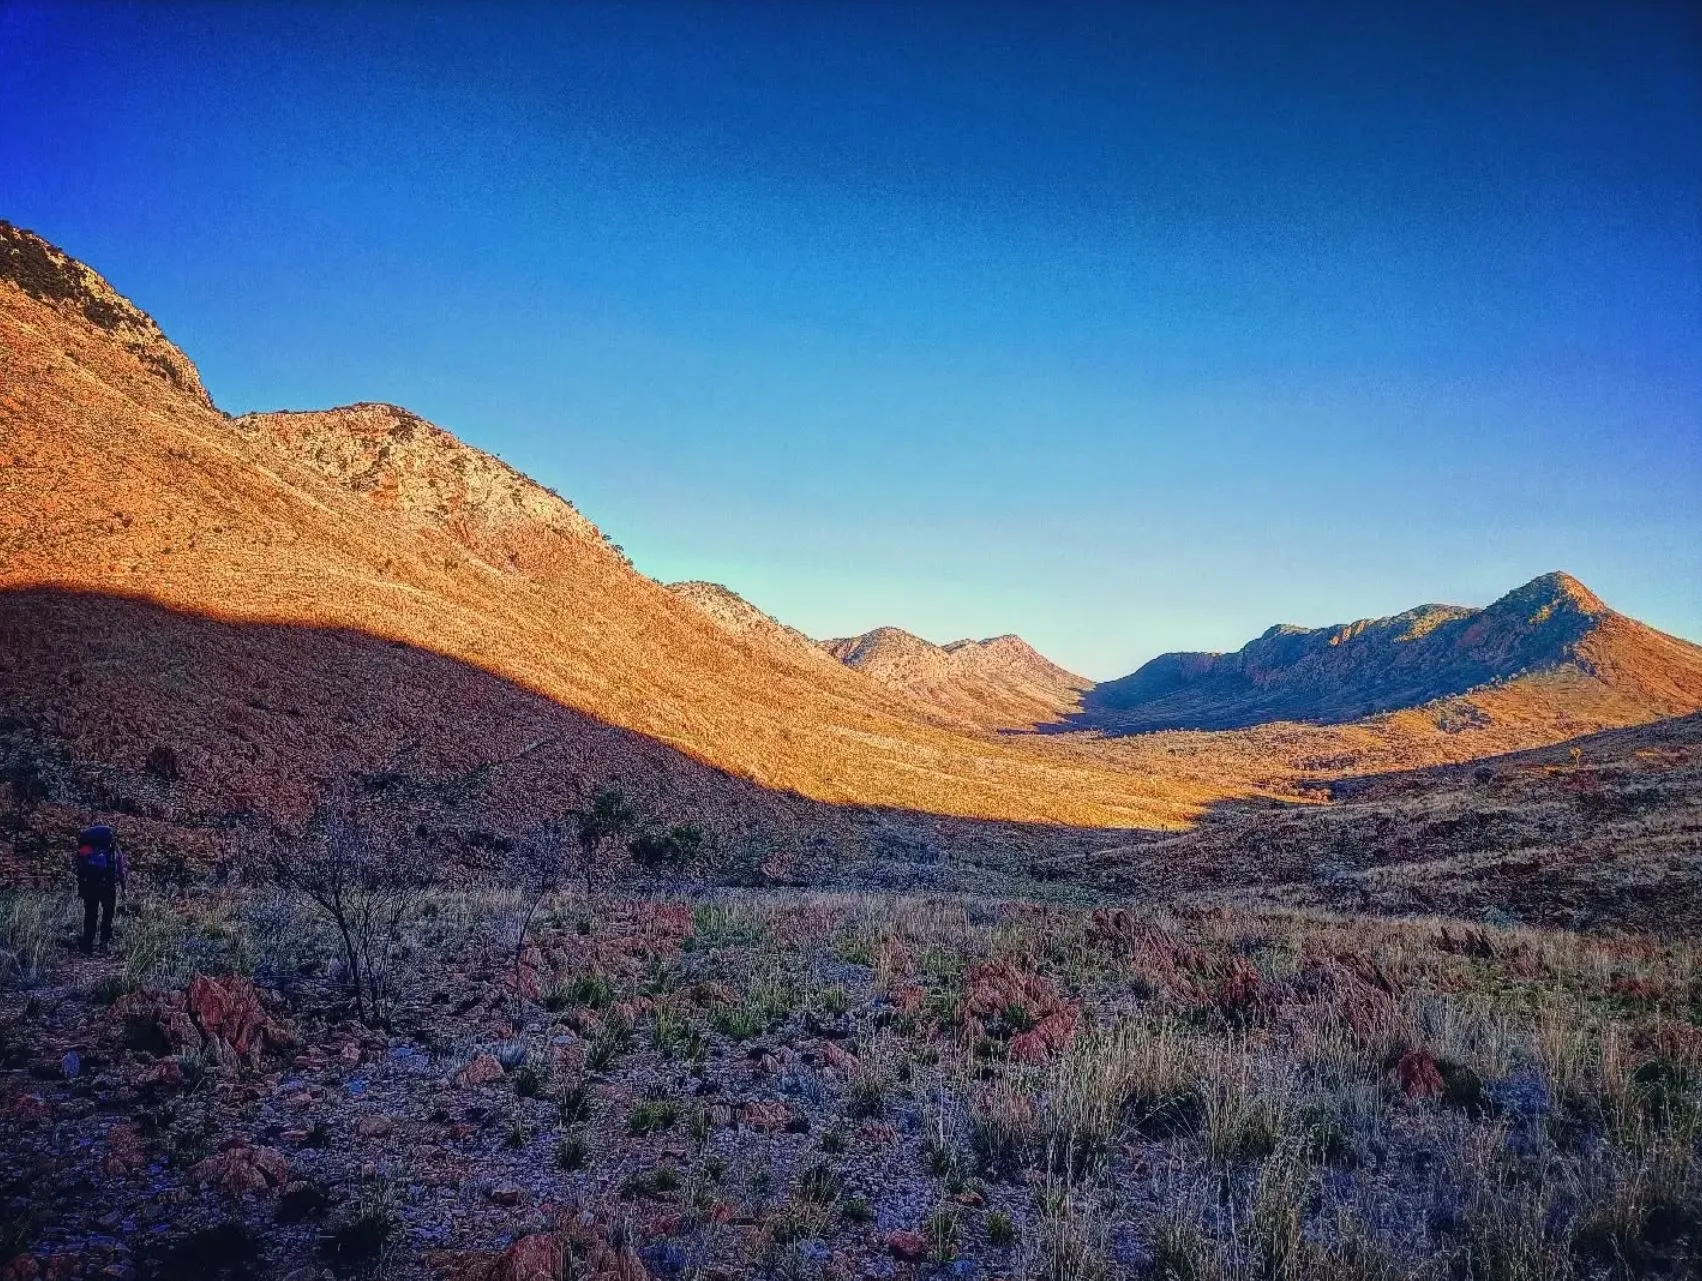
The first section of the Larapinta Trail starts at the Alice Springs Telegraph Station, a historic site and the official trailhead for the walk. You’ll gradually climb up through the rocky terrain of the West MacDonnell Ranges. The path to Simpsons Gap is short, but the vistas are stunning, especially at sunrise or sunset when the rock formations glow red and orange. Keep an eye out for the elusive Black-footed Rock Wallaby at the waterholes. This section sets the tone for the adventure ahead, with views and a taste of the Australian desert. It’s also a good spot to stop before the walk goes on.
Section 2: Simpsons Gap to Jay Creeke
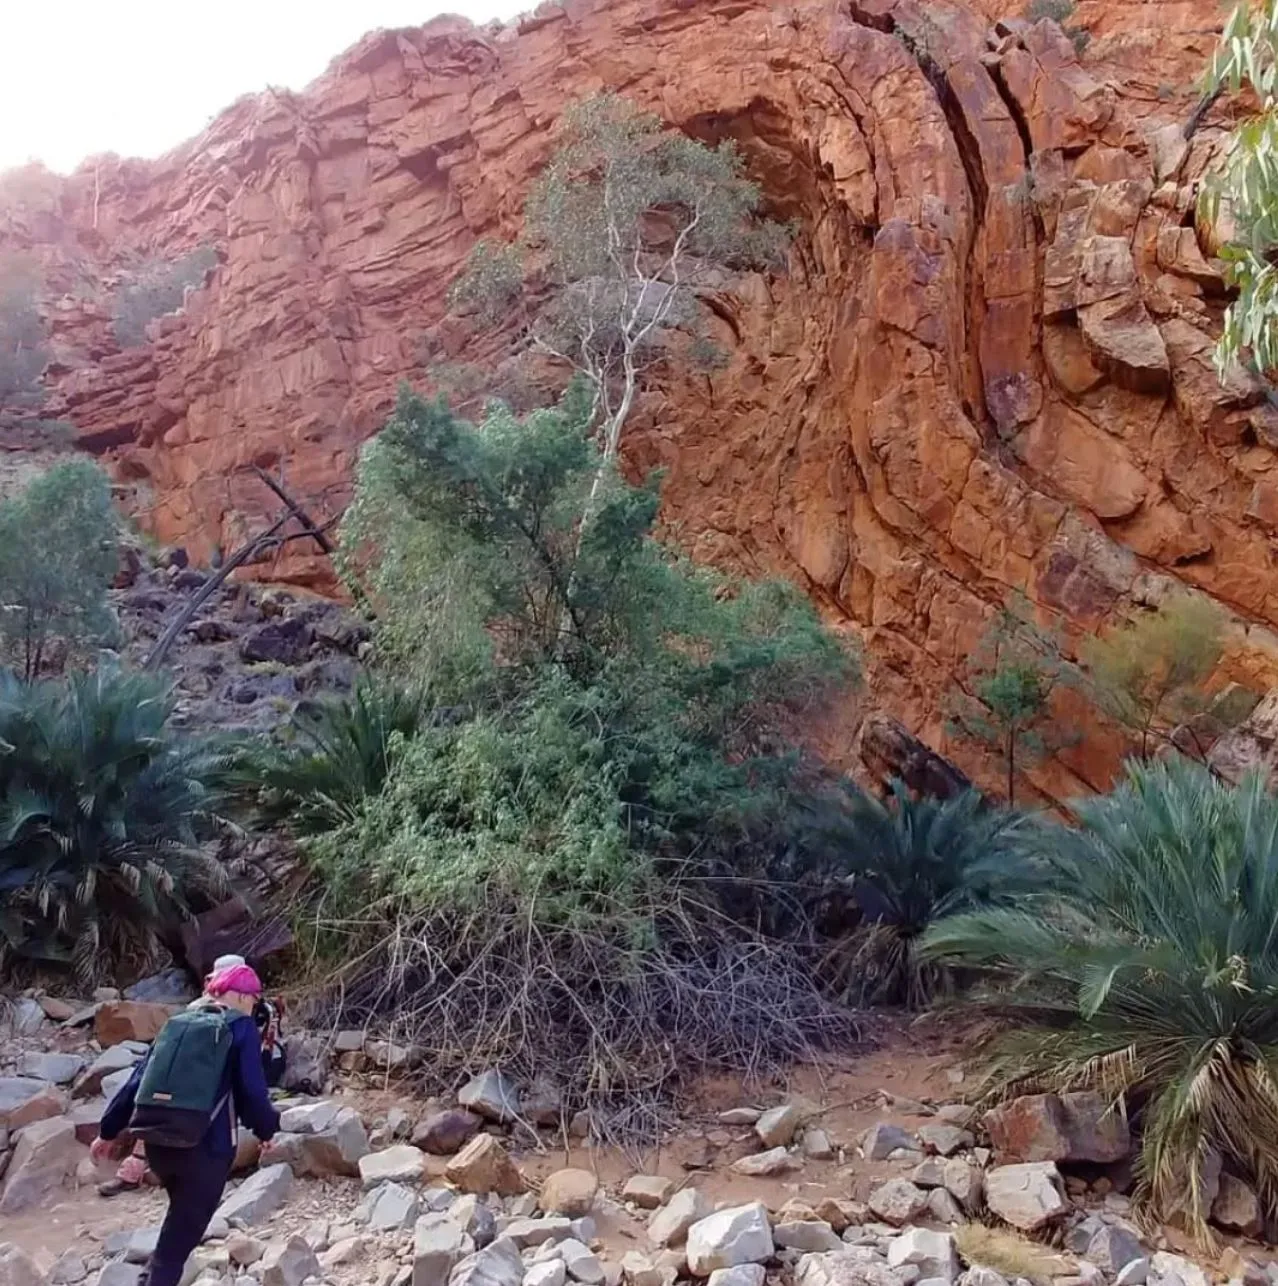
From Simpsons Gap, this section is a bit longer and more varied. You’ll walk through sandy creek beds, creek crossings and loose rock sections. The open spaces are great for views and photos and a chance to enjoy the desert landscape. As you approach Jay Creek, the trail narrows and the trail markers guide you along rocky ridgelines. This section is good for those who like remote country and being far from it all.
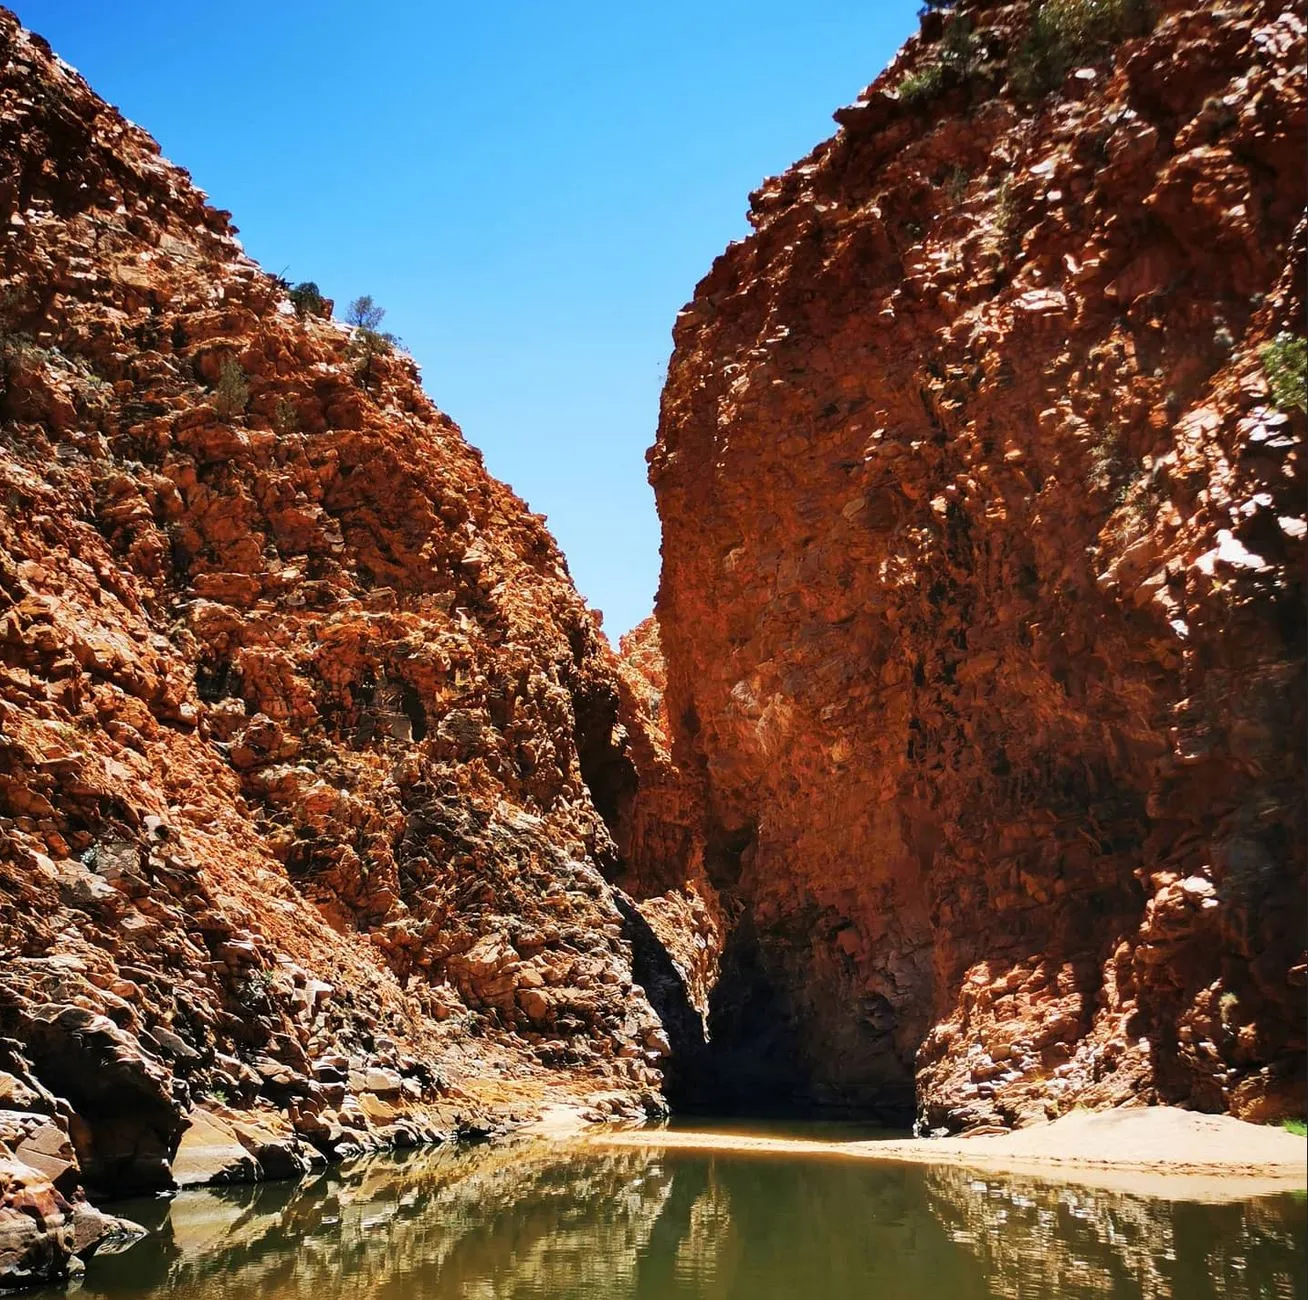
Section 3: Jay Creek to Standley Chasm
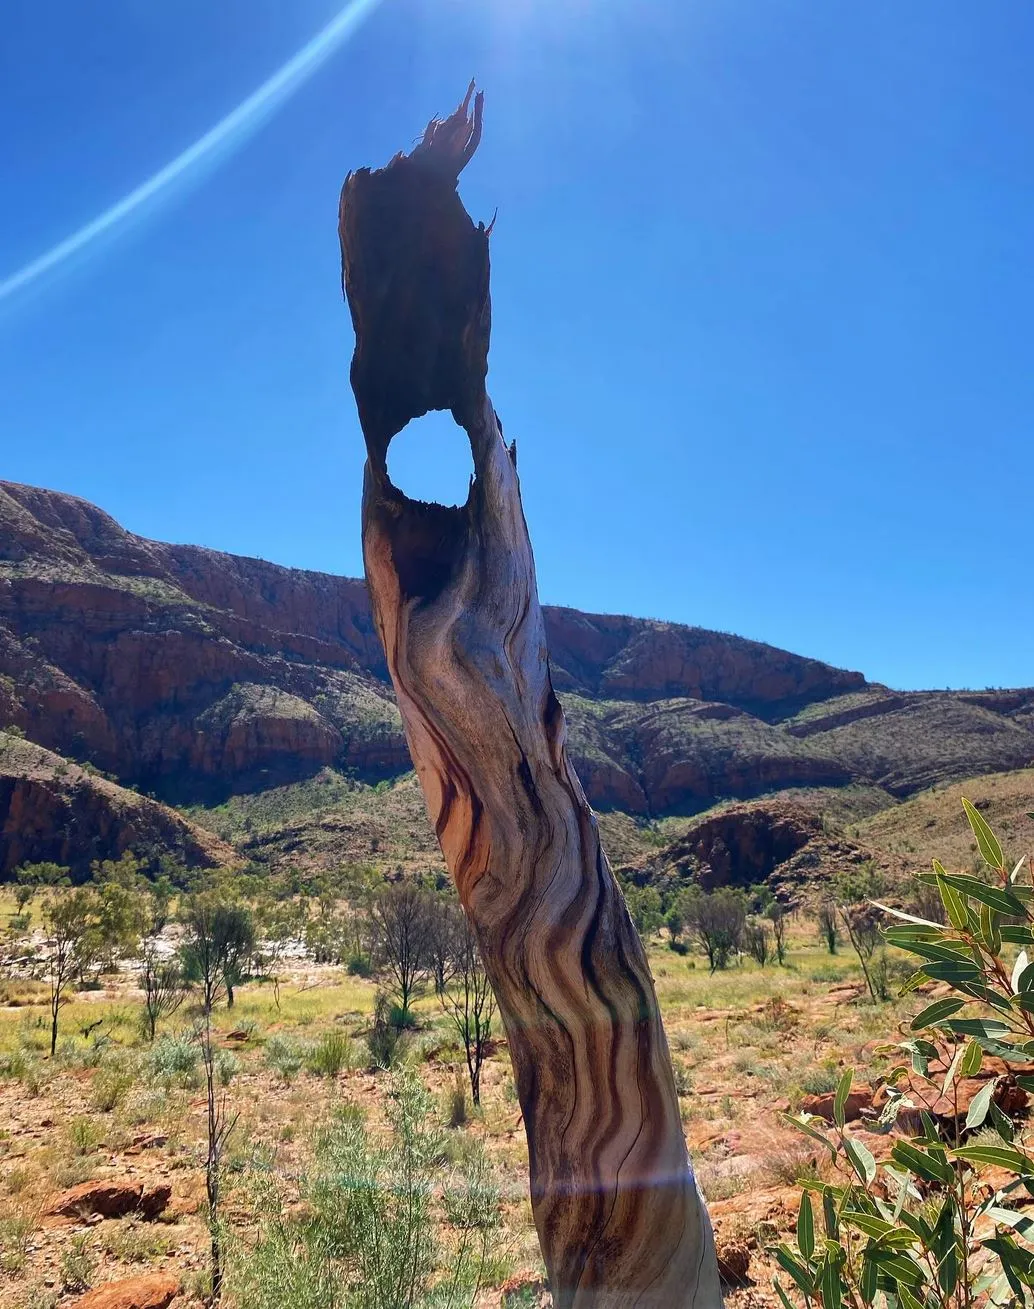
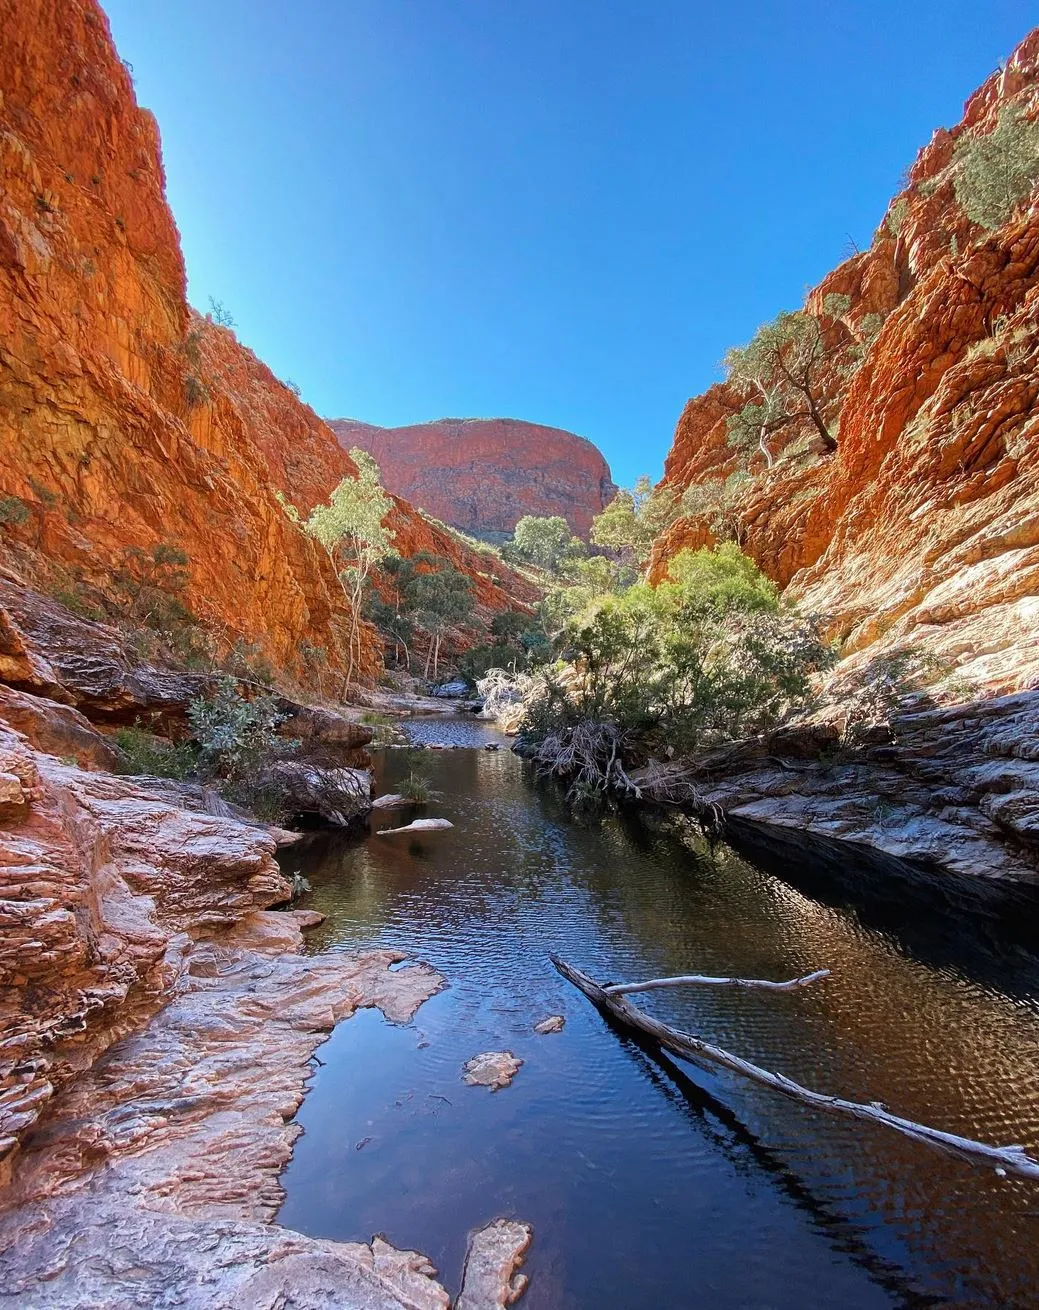
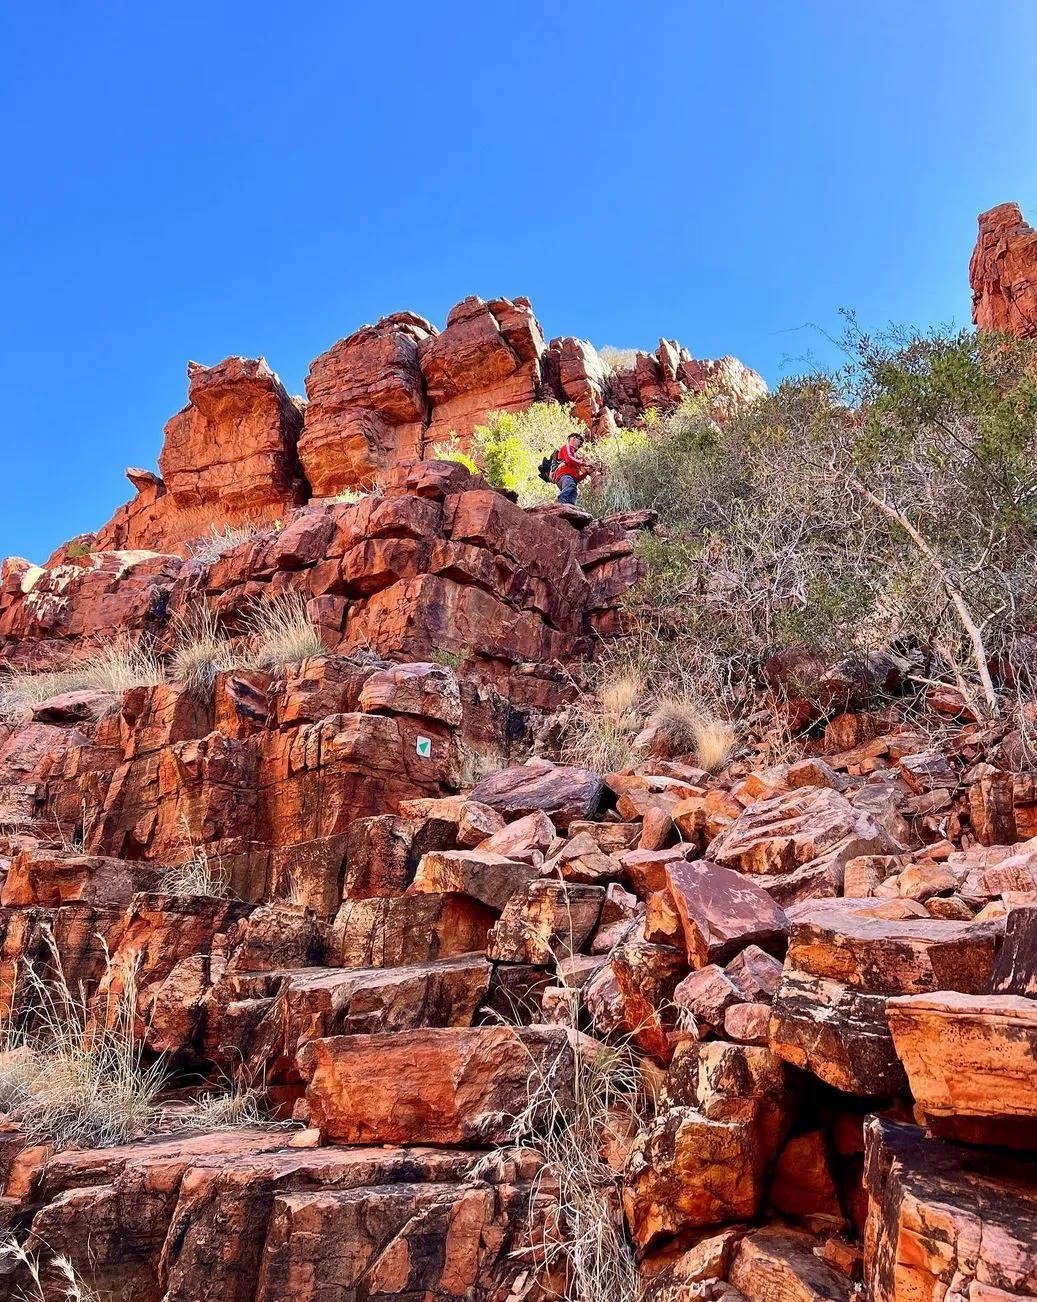
The third section takes you through some of the most beautiful rocky hills and gorges including Standley Chasm. Famous for its waterfall gorge and red rock formations, Standley Chasm is a highlight. As you continue you’ll encounter Razorback Ridge and views across Euro Ridge. The walk involves some technical terrain, steep climbs and rock scrambling. You’ll need hiking boots suitable for rock hopping and uneven ground. You may also see local birdlife and plants unique to Central Australia.
Section 4: Standley Chasm to Section 4/5 Junction
From Standley Chasm the trail heads into more remote parts of the West MacDonnell Ranges. The path goes through Brinkley Bluff and has a mix of flat and uphill sections with stunning views of the surrounding mountains and desert. This section is more challenging due to the rocky hills and loose rock. The walk to the Section 4/5 Junction is a true Outback experience; solitude and views make it a highlight of the whole trail. At the junction you can camp at one of the nearby trail shelters or campsites.
Section 5: 4/5 Junction to Hugh Gorge
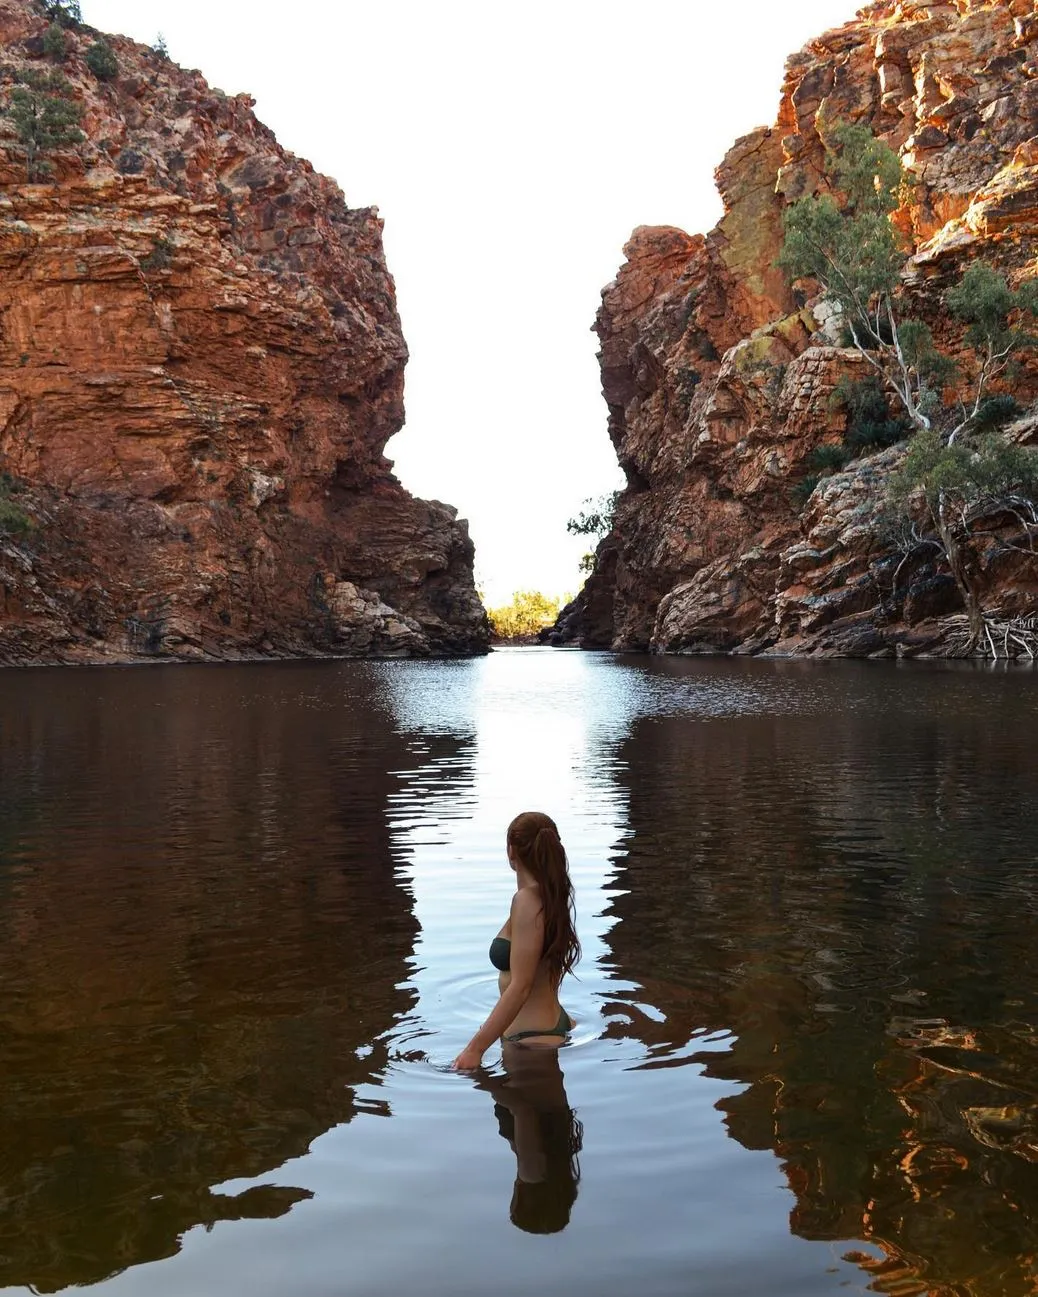
From the junction, this section goes deeper into the heart of the West MacDonnell Ranges. You’ll pass Mulga Camp, a good spot to stop. Towards Hugh Gorge you’ll see dramatic landscapes with towering cliffs and winding gorges. Hugh Gorge is a highlight with waterholes to cool off. The terrain is creek beds to rocky hills and a few difficult sections to navigate. If you’re an independent hiker this is the perfect section to enjoy the Aussie desert.
Section 6: Hugh Gorge to Ellery Creek
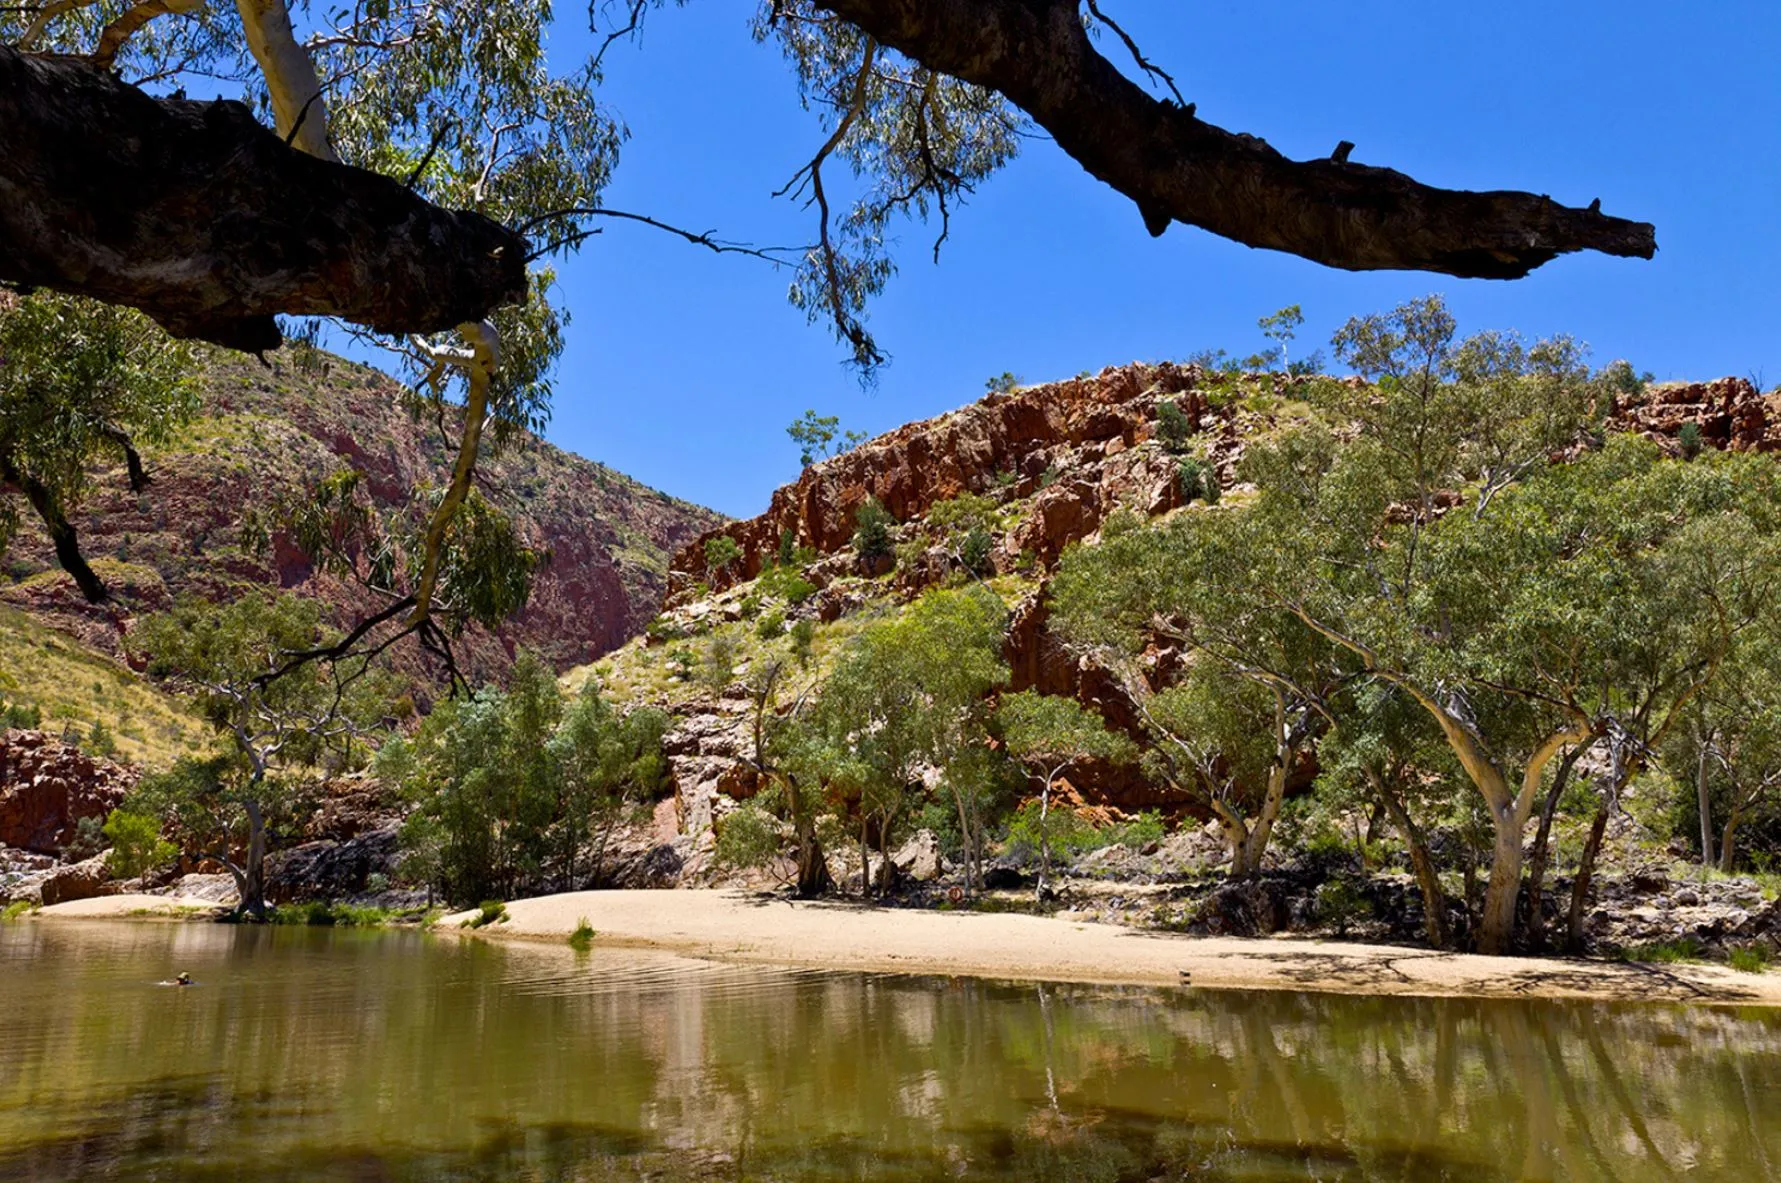
This section has a mix of terrain, sandy creek beds and rocky hills. The walk from Hugh Gorge to Ellery Creek has great views of the surrounding hills and valleys. Ellery Creek Big Hole is a great spot to swim or have a break. There are good campsites and the Ormiston Gorge Kiosk is a good place to restock supplies. Ellery Creek is a great spot to take in the views. The creek is a natural oasis in the desert.
Section 7: Ellery Creek to Serpentine Gorge
From Ellery Creek this section of the trail heads towards Serpentine Gorge where the landscape is made up of big rocky outcrops and secluded waterholes. This section is great for spotting wildlife including birds and reptiles. As you get to Serpentine Chalet Dam the terrain flattens out and gets easier to walk but some sections still require rock hopping and careful footing. The water tanks along the way are crucial for multi-day hikers.
Section 8: Serpentine Gorge to Serpentine Chalet Dam
The trail from Serpentine Gorge to Serpentine Chalet Dam takes you through more open desert landscapes with big rock formations and great views. This is an easy section, but it can be tough if you have a heavy pack. Camping spots along the way give you a chance to rest and soak up the views of the rocky hills. Make sure to carry extra water in the warmer months as this section can be hot during the day.
Section 9: Serpentine Chalet Dam to Ormiston Gorge
Continuing on to Ormiston Gorge this section is one of the most scenic parts of the Larapinta Trail. As you head towards Glen Helen Gorge and Redbank Gorge the path has great views of Arenge Bluff and Gosse Bluff. The landscape here is made up of big rocky outcrops and you may encounter sandy creek beds that require some effort to cross. Once at Ormiston Gorge the waterhole is a great place to swim and relax before continuing on.

Section 10: Ormiston Gorge to Finke River
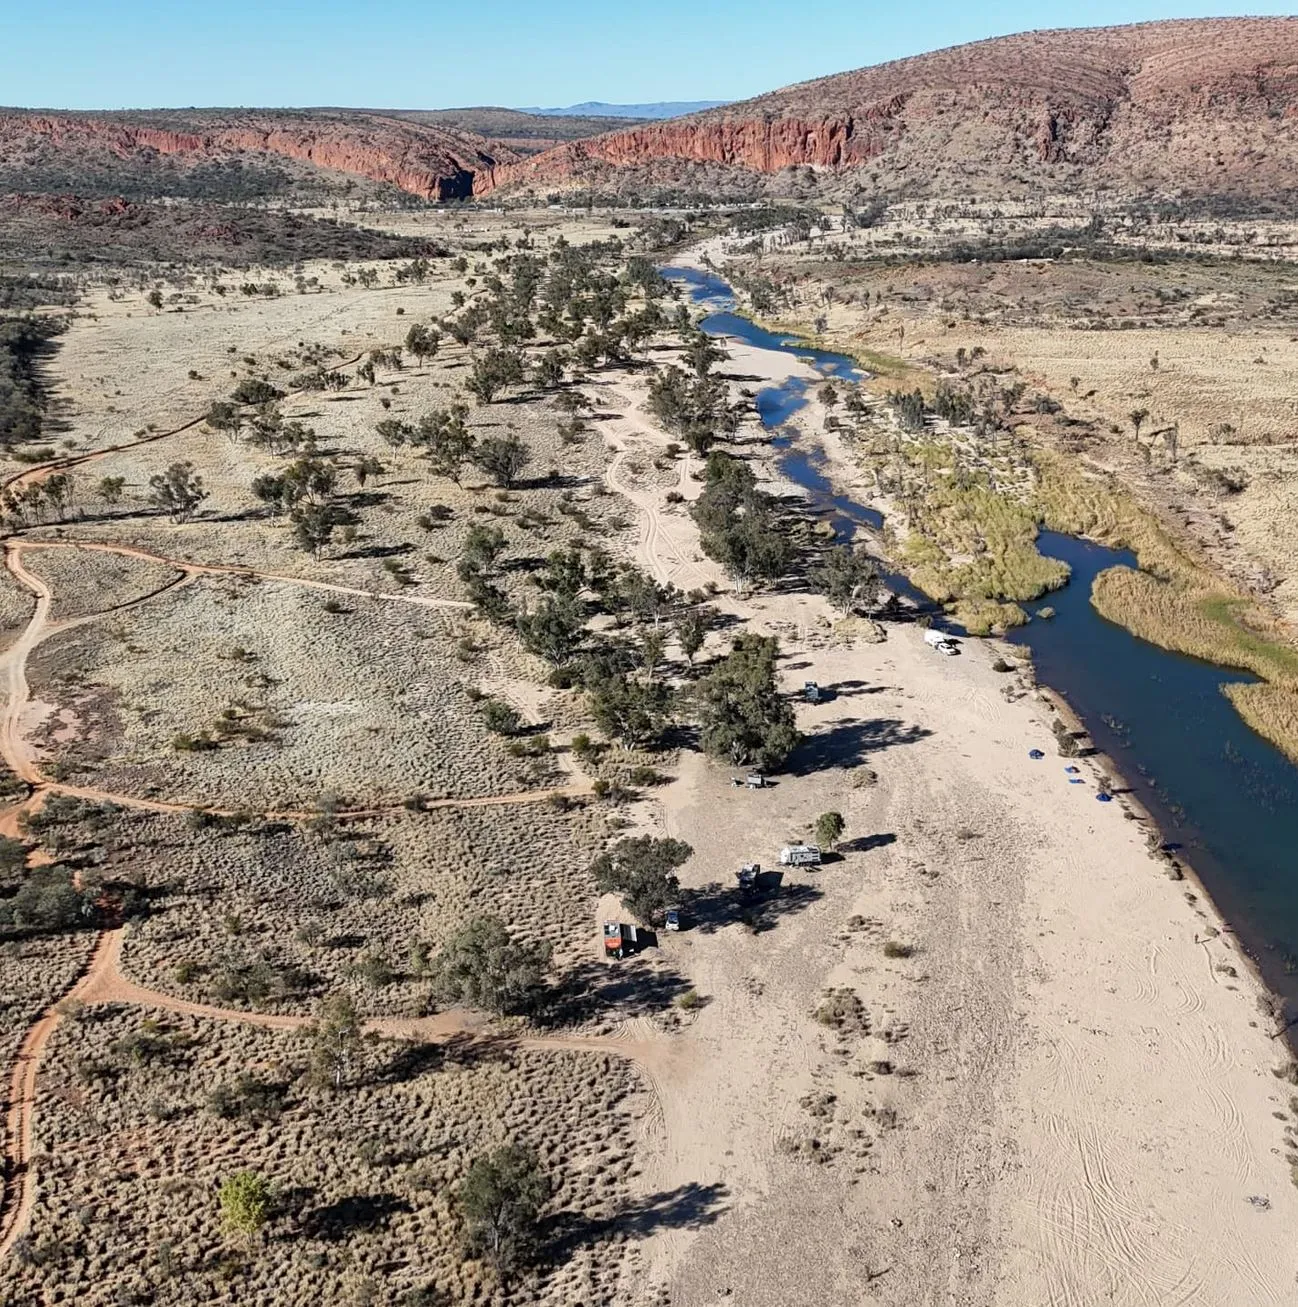
From Ormiston Gorge to the Finke River the trail is remote and rough, with some rock hopping and loose rock sections. The Finke River is one of the oldest rivers in the world and the gorges and dry riverbeds after the waterholes are a dramatic change from the lush cool waterholes earlier in the trail. This section will test your endurance and give you some of the most remote and isolated hiking of the entire Larapinta Trail.
Section 11: Finke River to Redbank Gorge
From Finke River to Redbank Gorge the trail is long stretches of rock and creek crossings. You cross Redbank Creek and get some of the best views of the West MacDonnell Ranges. Redbank Gorge is a great campsite with cliffs and water to relax in.
Section 12: Redbank Gorge to Mount Sonder
The final bit of the Larapinta Trail is to Mount Sonder, the highest point of the trail. The hike is steep and hard but the views are worth it. From the top you get stunning views of the Alice Valley and the Central Australia desert. This last bit is tough but if you have the fitness level for it, it’s a great way to finish the Larapinta Trail.
When to Hike the Larapinta Trail
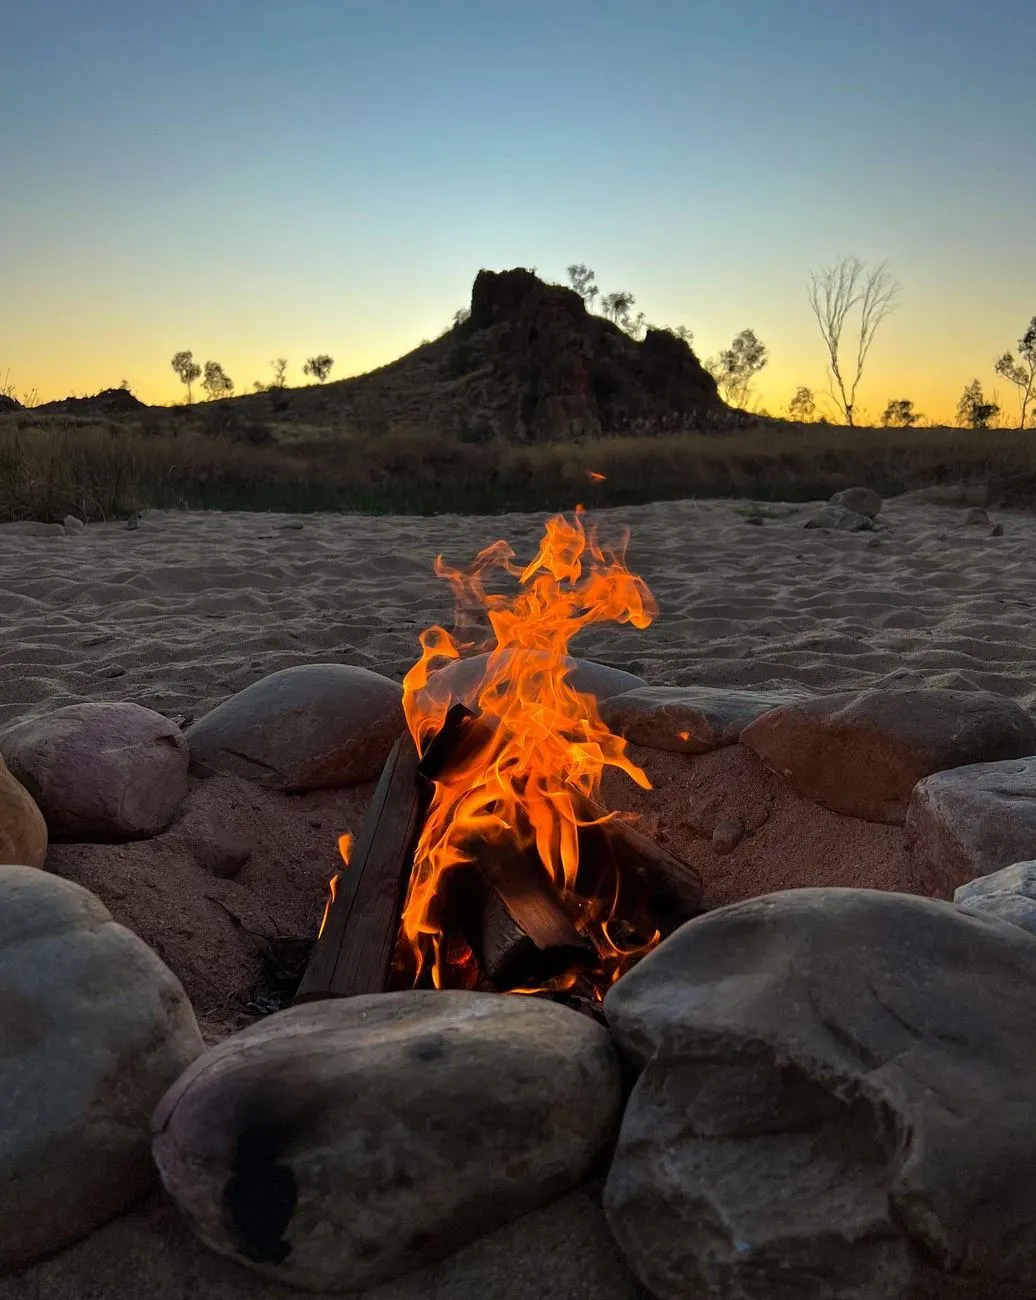
The best time to hike is April to September when it’s cooler and more manageable. Summer is too hot, above 40 degrees and winter nights can be cold so proper gear is essential. Plan for water resupply points and carry extra water for remote sections.
FAQ
How long does it take to hike the whole Larapinta Trail?
It’s usually 12 days but depending on your fitness level and how much time you spend resting and exploring it can vary.
Are there campsites along the trail?
Yes, there are multiple campsites along the trail including Eco-Comfort camps and private campsites. There are also tent pads and trailhead campgrounds for those who want a more organised experience.
Do I need a permit to hike the Larapinta Trail?
Yes, you need a permit for some sections. Check ahead of time as there may be camping fees.
Is there water along the trail?
There are water supply points, water tanks and waterholes along the trail but always carry water bottles and plan accordingly.
Can I hike solo?
While solo hiking is possible it’s recommended to hike with a companion or a group. The trail is remote and it’s essential to have a sat phone or a way to communicate in case of emergency.